A roof is only as good as what sits underneath it.
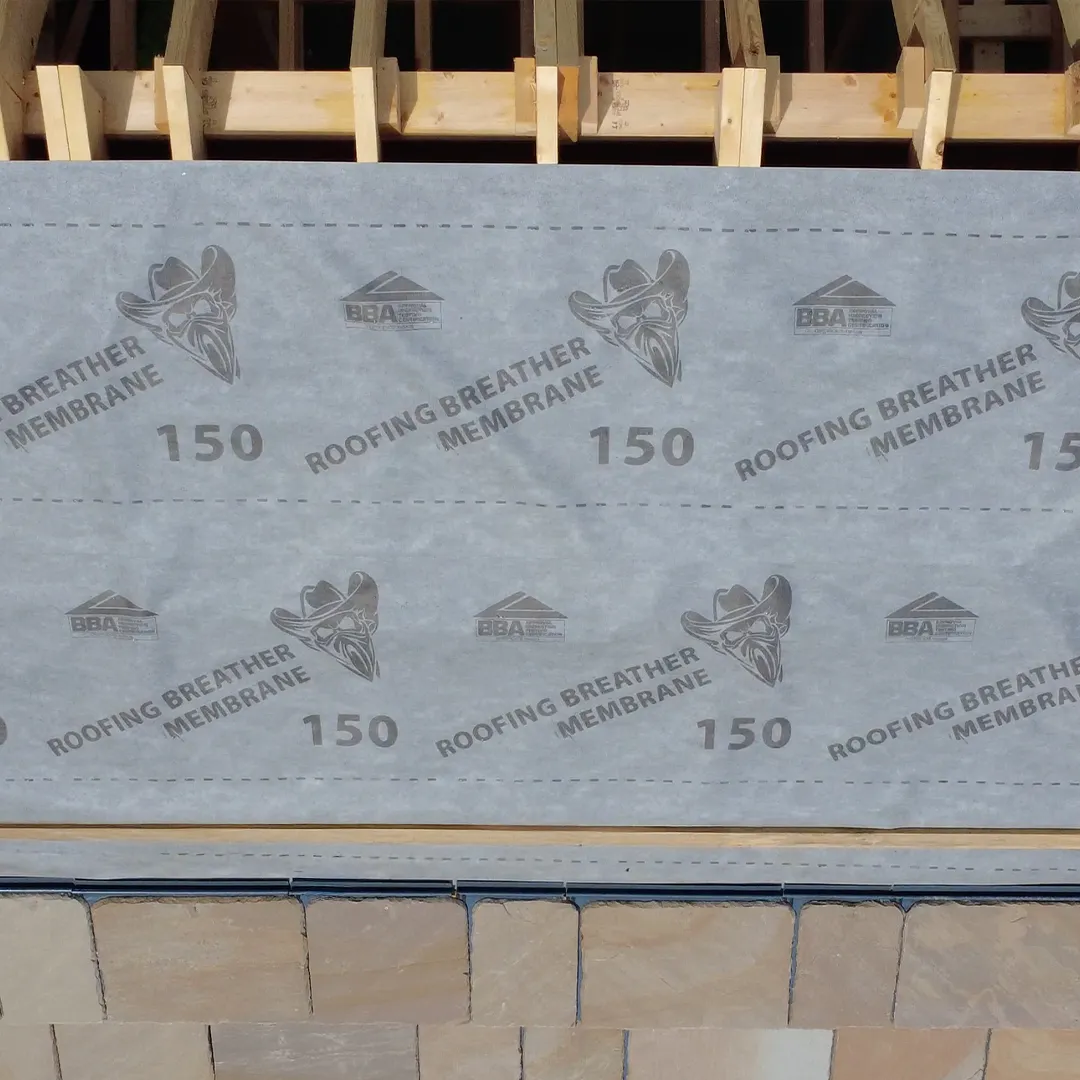
Cheap membrane tears when you pull it tight, flaps about in the wind and causes problems before the slates or tiles are even on. The Roofing Outlaw Breather Membrane is built to do the job properly.
Made from a tough three-layer polypropylene composite, it gives you the strength needed for everyday roofing work while staying lightweight enough to handle, cut and install without fighting the roll all day.
It is highly water-resistant, helping protect the roof from wind-driven rain, snow and dust while allowing moisture vapour to escape from the roof structure. That means a more breathable build-up and less risk of moisture hanging around where it should not be.
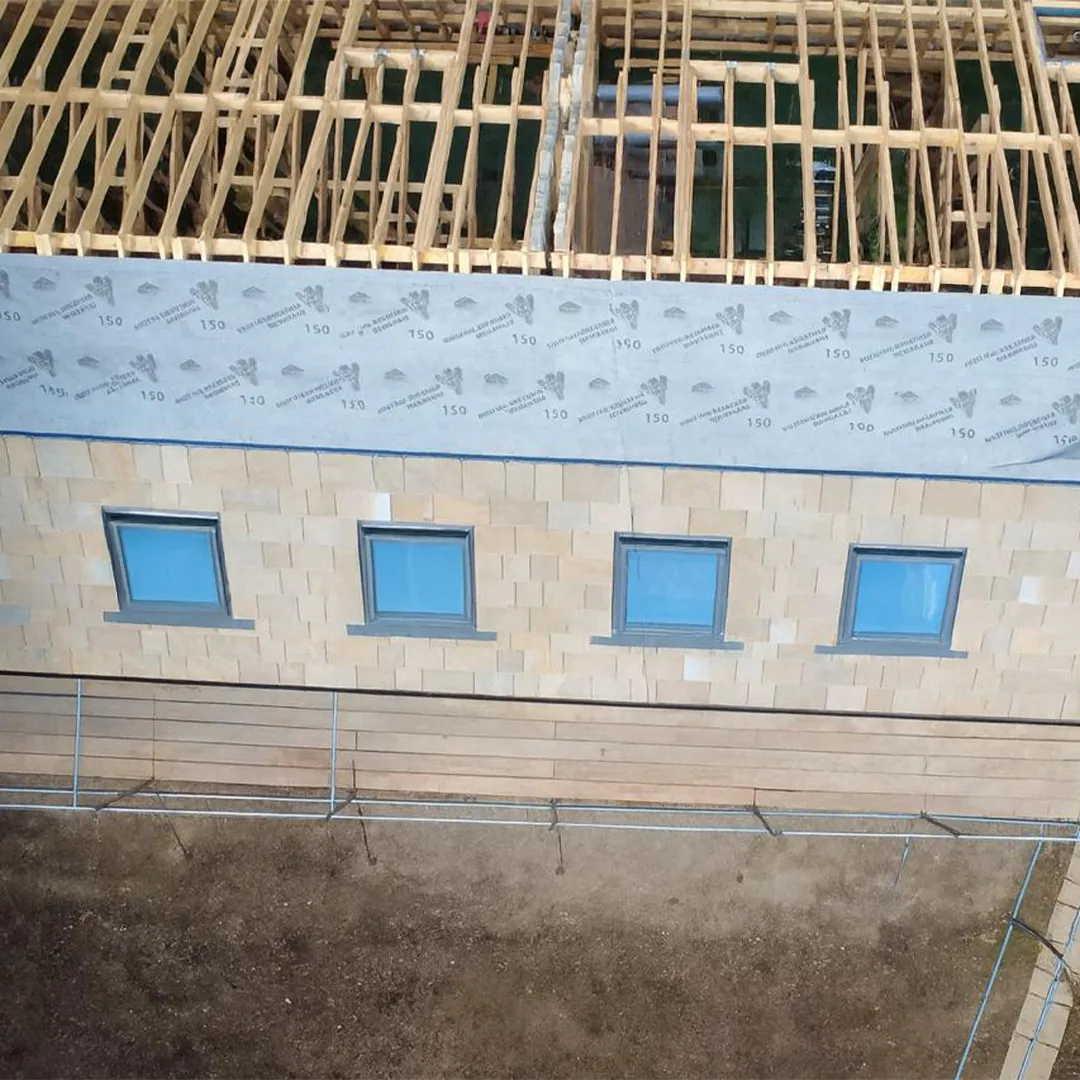
Suitable for warm non-ventilated and cold ventilated pitched roof systems, it gives you flexibility across new builds, re-roofs, extensions, dormers and everyday slate or tile work.
The membrane can also act as temporary weather protection before the final roof covering is installed, but get the slates or tiles on as soon as practical. It is there to protect the job, not sit in the sun for weeks on end.
Strong where it matters. Breathable where it counts. Built for the graft.
How to Install
1.
Step 1 – Prepare the Roof
Ensure rafters, decking, eaves details and any supporting structure are sound, correctly aligned and ready for the membrane.
2.
Step 2 – Start at the Eaves
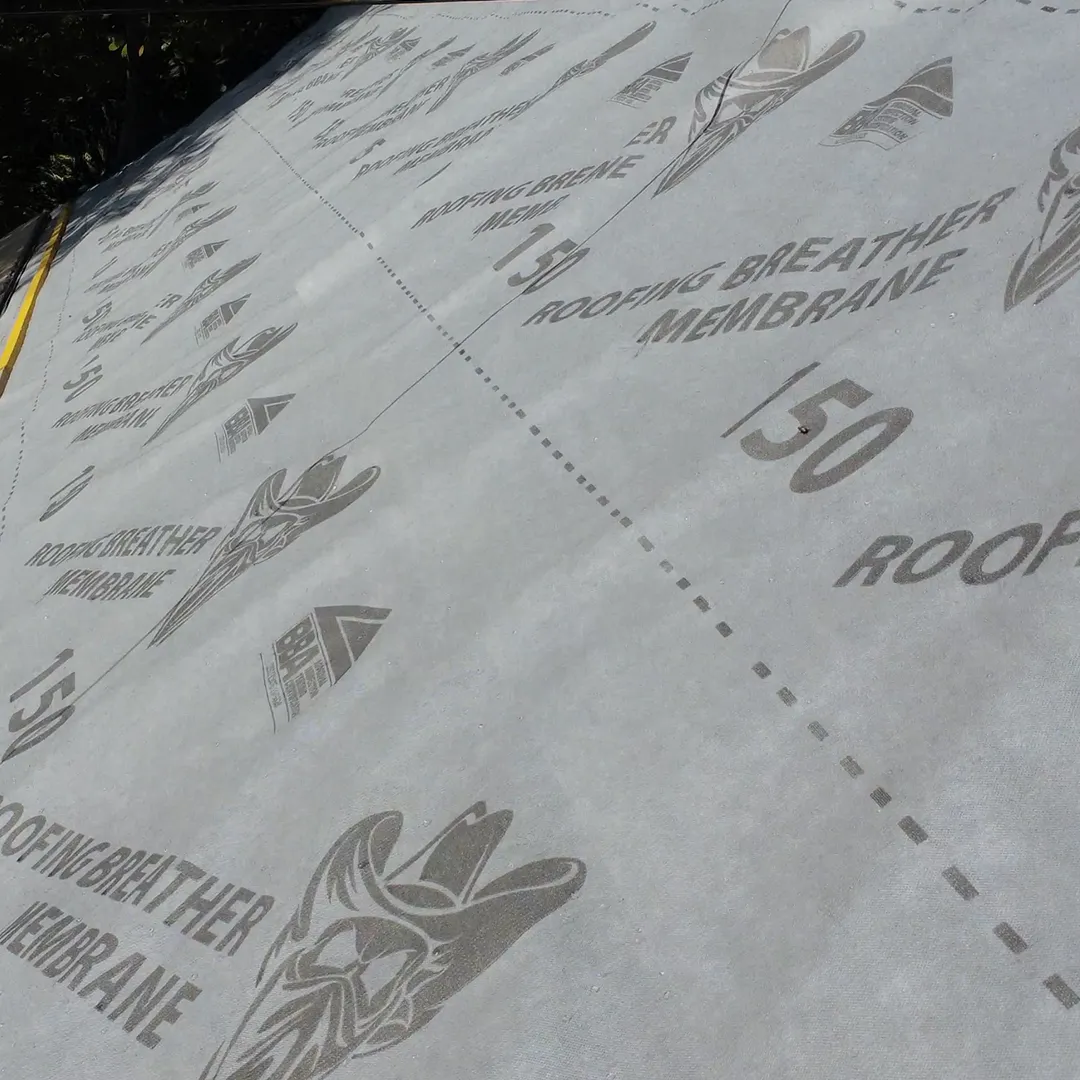
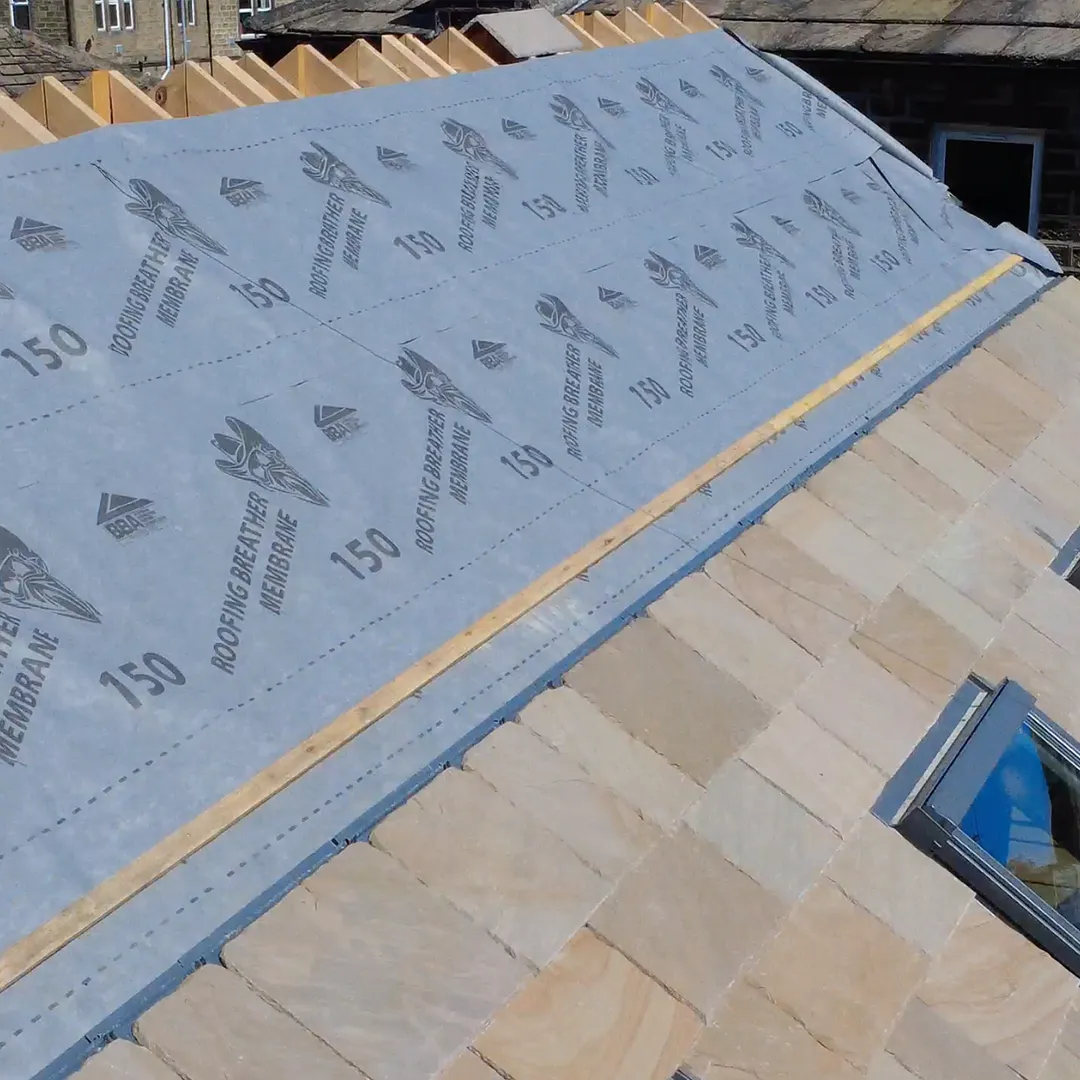
Begin at the eaves and roll the membrane horizontally across the roof, ensuring the printed side faces upwards.
3.
Step 3 – Lay to Shed Water
Install each course so water runs out and down the roof slope, never back behind the membrane laps.
4.
Step 4 – Set the Horizontal Lap
For roof pitches between 12.5° and 15°, allow a 225mm horizontal lap on unsupported roofs or 150mm on fully supported roofs.
5.
Step 5 – Set the Lap on Steeper Roofs
For roof pitches of 15° and above, allow a 150mm horizontal lap on unsupported roofs or 100mm on fully supported roofs.
6.
Step 6 – Form Vertical Joints Carefully
Avoid vertical joints wherever possible; where they are unavoidable, use a minimum 100mm lap and seal the joint correctly.
7.
Step 7 – Fix the Membrane
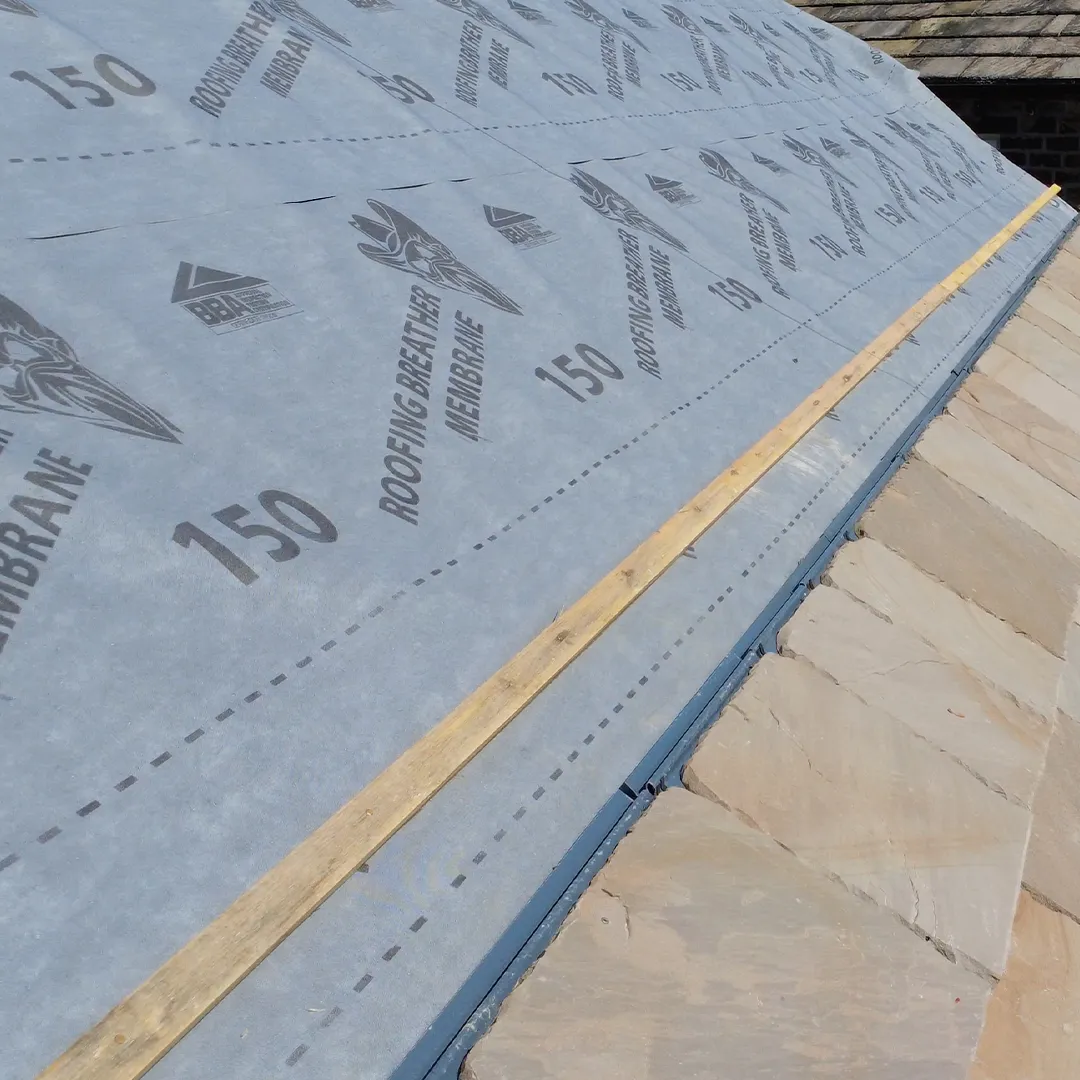
For unsupported roofs, drape the membrane over the rafters and secure it using tiling battens; for supported roofs, lay it over the deck and secure it using counterbattens.
8.
Step 8 – Use Counterbattens Where Required
Fit counterbattens to create a drainage path beneath the tile battens and allow moisture vapour to disperse correctly.
9.
Step 9 – Protect Before Covering
Fit the final tiles or slates as soon as practical and avoid leaving the membrane exposed to prolonged UV light.
£107.99Original price was: £107.99.£95.99Current price is: £95.99.Inc VAT£79.99 Ex VATGet 11% OFF
Key Advantages
Tough 150gsm three-layer construction
High tear resistance for everyday site handling
Breathable
W1 rated water resistance before and after ageing
Helps protect against wind-driven rain, snow and dust
Suitable for warm and cold roof systems
Lightweight and easy to cut, carry and fit
Suitable for supported and unsupported installations
Designed for slate and tile roofing work
Specifications
Product Type
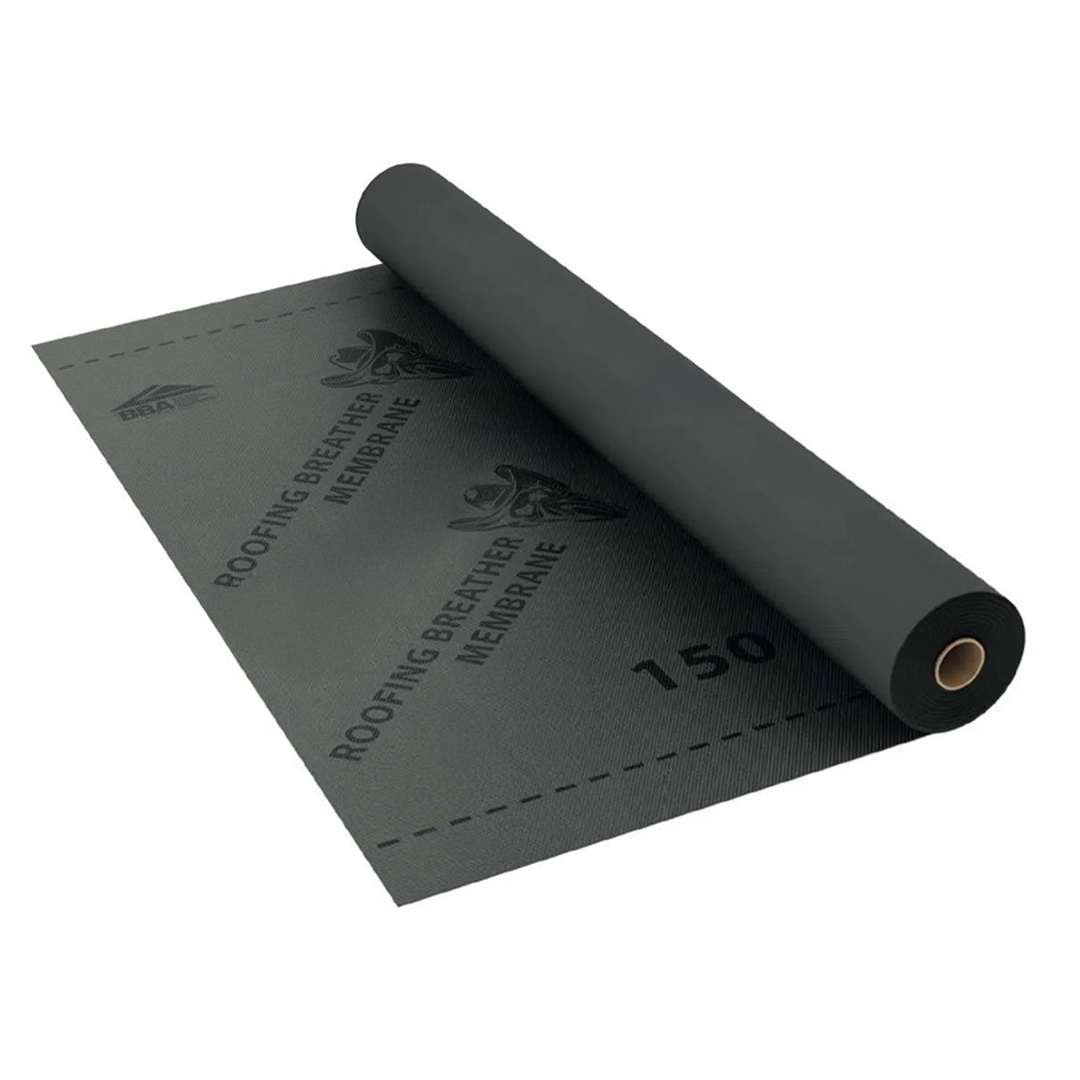
Roofing Breather Membrane
Material
Three-layer polypropylene composite
Roll Size
1.5m x 50m
Coverage per Roll
75m² before laps and wastage
Weight
150gsm
Thickness
0.70mm
Watertightness
W1 before and after ageing
Air Resistance
Less than 0.06 m³/m²·h·50Pa
Sd Value
0.02m
Description
A roof is only as good as what sits underneath it.
Cheap membrane tears when you pull it tight, flaps about in the wind and causes problems before the slates or tiles are even on. The Roofing Outlaw Breather Membrane is built to do the job properly.
Made from a tough three-layer polypropylene composite, it gives you the strength needed for everyday roofing work while staying lightweight enough to handle, cut and install without fighting the roll all day.
It is highly water-resistant, helping protect the roof from wind-driven rain, snow and dust while allowing moisture vapour to escape from the roof structure. That means a more breathable build-up and less risk of moisture hanging around where it should not be.
Suitable for warm non-ventilated and cold ventilated pitched roof systems, it gives you flexibility across new builds, re-roofs, extensions, dormers and everyday slate or tile work.
The membrane can also act as temporary weather protection before the final roof covering is installed, but get the slates or tiles on as soon as practical. It is there to protect the job, not sit in the sun for weeks on end.
Strong where it matters. Breathable where it counts. Built for the graft.
How to Install
1.
Step 1 – Prepare the Roof
Ensure rafters, decking, eaves details and any supporting structure are sound, correctly aligned and ready for the membrane.
2.
Step 2 – Start at the Eaves
Begin at the eaves and roll the membrane horizontally across the roof, ensuring the printed side faces upwards.
3.
Step 3 – Lay to Shed Water
Install each course so water runs out and down the roof slope, never back behind the membrane laps.
4.
Step 4 – Set the Horizontal Lap
For roof pitches between 12.5° and 15°, allow a 225mm horizontal lap on unsupported roofs or 150mm on fully supported roofs.
5.
Step 5 – Set the Lap on Steeper Roofs
For roof pitches of 15° and above, allow a 150mm horizontal lap on unsupported roofs or 100mm on fully supported roofs.
6.
Step 6 – Form Vertical Joints Carefully
Avoid vertical joints wherever possible; where they are unavoidable, use a minimum 100mm lap and seal the joint correctly.
7.
Step 7 – Fix the Membrane
For unsupported roofs, drape the membrane over the rafters and secure it using tiling battens; for supported roofs, lay it over the deck and secure it using counterbattens.
8.
Step 8 – Use Counterbattens Where Required
Fit counterbattens to create a drainage path beneath the tile battens and allow moisture vapour to disperse correctly.
9.
Step 9 – Protect Before Covering
Fit the final tiles or slates as soon as practical and avoid leaving the membrane exposed to prolonged UV light.
Key Advantages
Tough 150gsm three-layer construction
High tear resistance for everyday site handling
Breathable
W1 rated water resistance before and after ageing
Helps protect against wind-driven rain, snow and dust
Suitable for warm and cold roof systems
Lightweight and easy to cut, carry and fit
Suitable for supported and unsupported installations